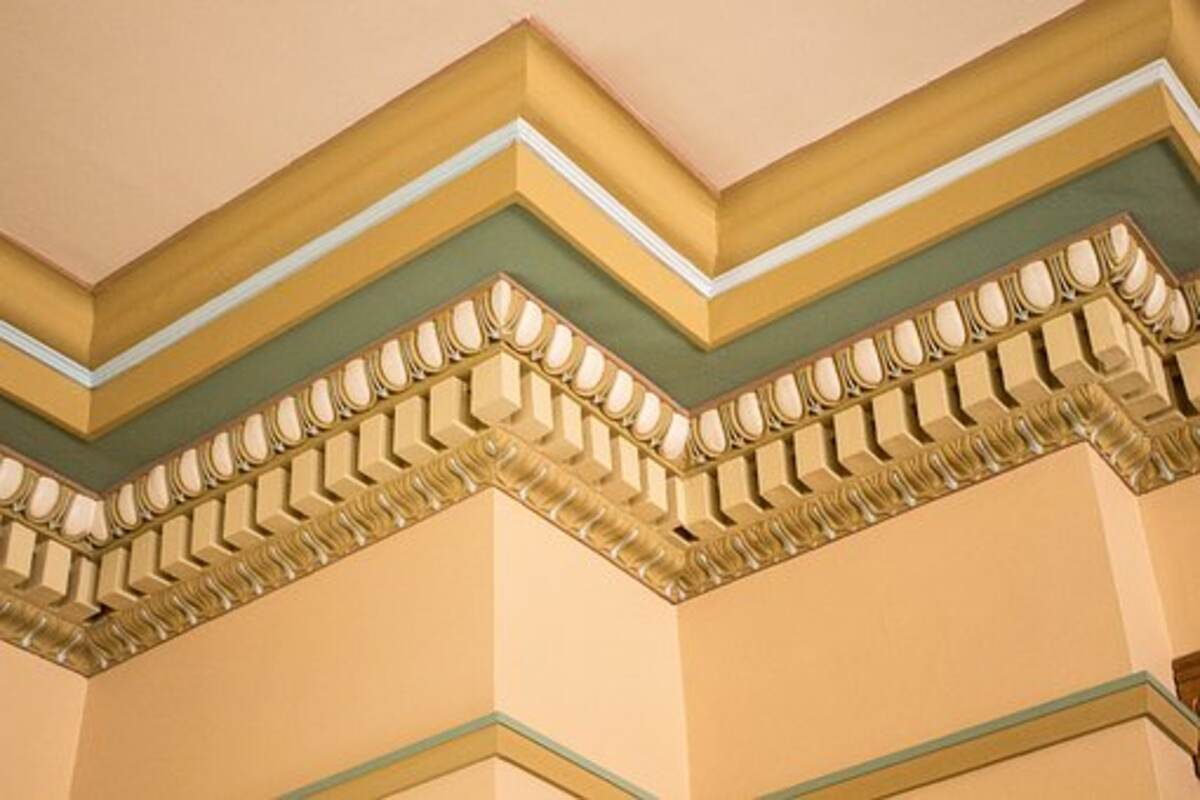
How to Install Crown Molding on Cabinets
Crown molding is an important feature of your kitchen and dining room. It makes the space look beautiful and gives your rooms a more formal feel. You can install crown molding yourself if you have a few basic skills. If you don’t, you can always hire a professional to install it for you. The cost will be worth it when you see the end result.
Build a frame to sit on top of the cabinet
There are many reasons to install crown molding on cabinets. You can add style and hide an uneven ceiling, but you’ll have to do it right. In this tutorial we’ll go over the process, starting with the basics.
First, you’ll need to determine how much room you have to work with. Crown molding typically spans about 1/4 inch of your cabinet’s face. That means you’ll have to measure and cut at least a couple of inches off the top.
Next, you’ll need to choose the best angle for the crown molding. This can be a tricky process. It’s a good idea to measure several different heights before making your final choice.
The angled ends of the crown will have to fit into the side sections of the cabinet. They should be stepped back by 1/8 inch to allow the crown to sit flush with the visible edges of the cabinet.
When installing crown molding on cabinets, you’ll need a tool to hold the molding in place. A jig can be helpful in this step, as it makes it easy to make accurate cuts.
Form a scarf joint
If you’re planning on installing new crown molding in your home, you’ll need to know how to form a scarf joint. A scarf joint is a kind of flat plane that meets at an angle, which makes it perfect for joining two pieces of crown molding.
You can form a scarf joint in just a few steps. The key is to fit the molding pieces correctly and accurately.
To form a scarf joint, you’ll need to cut the first half of the molding to a 45-degree angle. Make sure the angle is evenly cut, and don’t position the first piece too close to the corner.
Once the first half is finished, you’ll need to make a compound miter cut. This cuts the other end of the molding at the same angle.
Depending on the type of molding you’re installing, you can either paint or stain the joint. However, you’ll want to use a stain pen to hide the look of raw wood.
Nail the miter joint
Installing crown molding requires a bit of patience and spatial relations skills. However, the rewards are well worth the effort. The process involves cutting and fitting a single piece of crown molding and then nailing it into the wall.
Crown molding can be installed using a power miter saw. To ensure a perfect miter, you must adjust the blade angle on the saw. When doing this, make sure you are eye-protected and use the saw’s table brace to help support your workpiece.
A coping saw is another option for mitering your crown molding. This tool cuts the wood at a shallow angle, which allows you to remove excess wood from the back of the joint.
One of the most important tools you will need when installing crown molding is a compound-angle miter. It’s an ideal technique for joining two lengths of molding. You’ll need to cut a piece that is the same angle as the first piece, as well as an opposing piece that is on the other side of the blade.
Fill gaps
If you have crown molding installed in your home, you may have noticed gaps between the pieces. It can be difficult to get the molding to fit perfectly, but there are a few ways to fix this problem.
If you have a small gap between the crown molding and the ceiling, you can fill it with caulk. For bigger gaps, you can use ALEX or water putty.
If you have nail holes or dents in the corners of the molding, you can fix them with drywall mud. You can also paint the crown molding to make it look better.
If you have a wide gap between the crown molding and the wall, you should use wood putty to fill it. There is the acetone-based wood putty that you can use. Once the putty dries, it can be painted to give it a new look.
Caulk is also an option, but it is not the best. Silicone or latex caulk are good choices. When choosing a caulk, you need to consider how wet the area is.


Comments are closed.